


Using Wikitude's Image Recognition in an Ionic application
First of all I'd like to thank the Wikitude company for the license key they provided to me. I'll soon update the previous demo gifs to remove the trial watermarks!
In this tutorial we will use Wikitude's image recognition feature to display a new image in our Ionic AR application.
It's been a while since the last Wikitude tutorial so don't hesitate to start from the beginning (here and there) if you didn't follow the first tutorials.
Augmented Reality's image recognition started with a very simple marker:

Nowadays we can use more complex images like the one we are going to use in this tutorial:

Wikitude Target Manager
Wikitude's AR image recognition requires a target collection (.wtc file).
This file can be created using Wikitude's target manager.
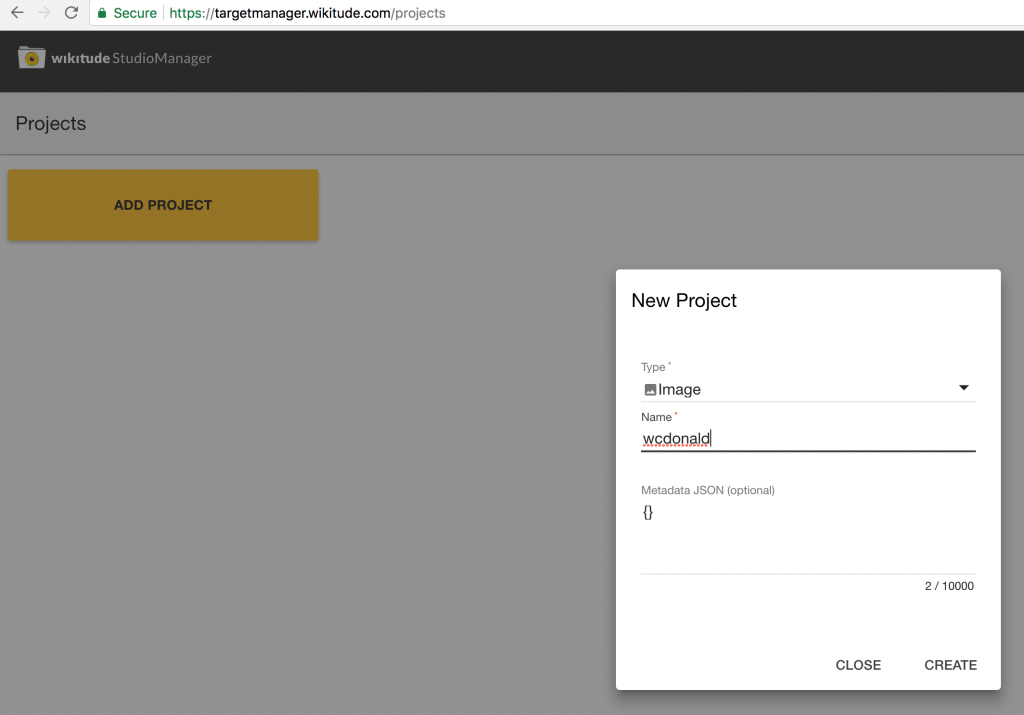
All we need is a new project:
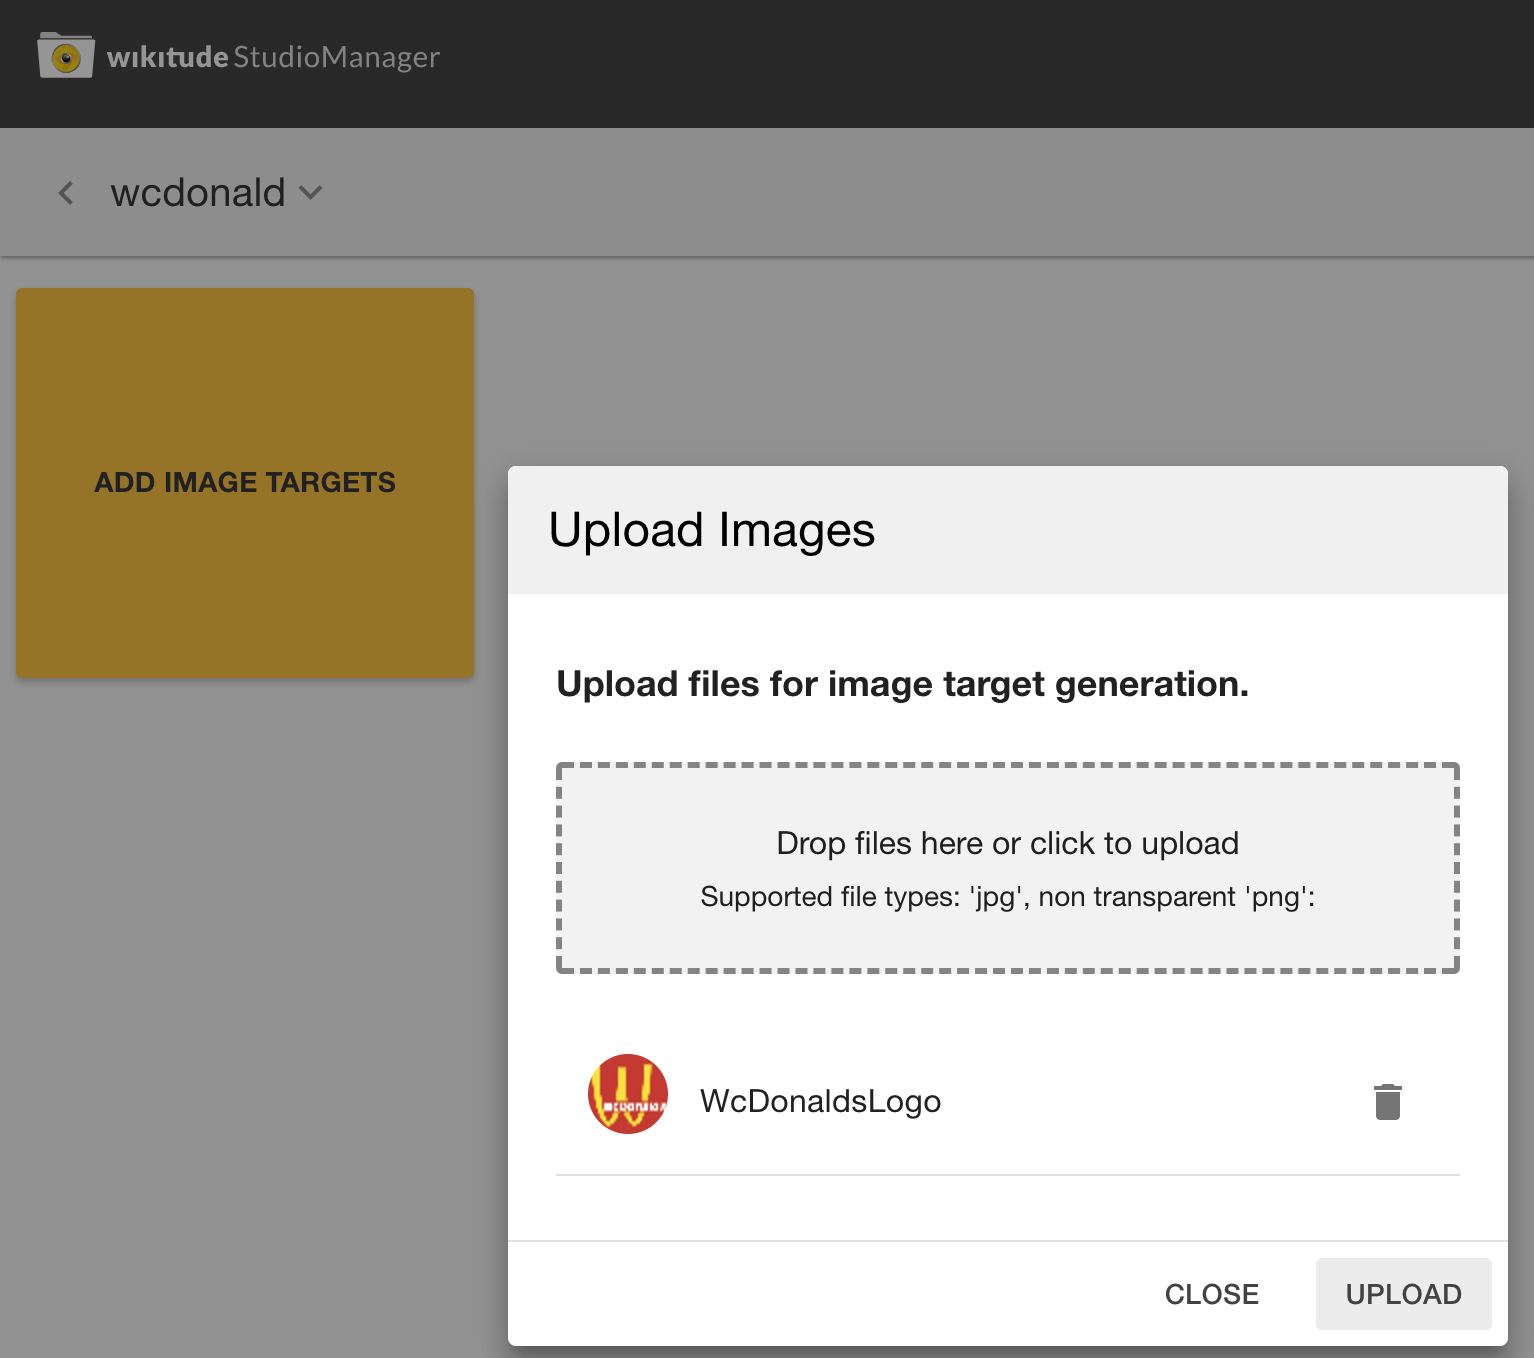
Uploading the image:
And downloading the wtc file:

More images can be present in a target collection, for simplicity will only use one.
Ionic Setup
Our goal for the Ionic assets folder is to achieve the following architecture:

The images folder contains the images that will appear in our AR world. Wikitude's image recognition only handles JPG and non transparent PNG files.
Unlike the previous Wikitude tutorials, we are going to work with TypeScript files.
Wikitude's philosophy is all about placing the AR world's files in the assets folder. This is great, however, Ionic will only directly copy those files without modifying them.
A new script named prerun.sh will be created to do the job:
echo 'prerun'
tsc --target es6 www/assets/experience/world/image-recognition/scripts/*.ts
All it does is calling the TypeScript compiler to transform the files to JavaScript.
This call will be done before Cordova runs the application. The config.xml file needs one new line:
<hook src="./prerun.sh" type="before_run" />
A new Hook will automatically launch the prerun.sh script before running the application.
Wikitude AR World
We can now move on to the wc-image-recognition.ts file:
declare var AR;

class World {
  init() {}
}

let world = new World();

world.init();
This is where our AR world starts. This file will create a new World instance and call its init method which starts as follow:
  init() {
    const targetCollectionResource =
      new AR.TargetCollectionResource("assets/wtc/wcdonald.wtc", {});

    const imageTracker = new AR.ImageTracker(targetCollectionResource, {});

    var wcImage = new AR.ImageResource("assets/images/wcdonald.jpg");
    ...
  }
A new TargetCollectionResource object is created by using the wtc file we generated using Wikitude's target manager.
When the camera will display the video stream, an ImageTracker will look for images present in this target collection.
The ImageResource is then created by using one JPG image, this image will be displayed in our world if the tracker finds a target.
Here are the last lines of our file:
var drawable = new AR.ImageDrawable(wcImage, 1, {
  translate: {
    z: 0.15
  },
  rotate: {
    x: -90
  }
});

var imageTrackable = new AR.ImageTrackable(imageTracker, "*", {
  drawables: {
    cam: drawable
  }
});
The ImageDrawable helps us dictate how our image will be displayed relatively to the target. In our case we move it a bit and rotate it on the X axis, so it will be perpendicular to the target.
The ImageTrackable is finally created by associating the imageTracker with the drawable.
And Voila!
The image is displayed when the target is detected:

Conclusion
Wikitude's Image Recognition is quite simple, we only need 30 lines of code. Before diving into it, a target collection is required.
At the moment Wikitude can only handle non transparent images. This tutorial is the first one to use TypeScript instead of Javascript by compiling the scripts before Cordova's run, so adapt it to your own needs.
We didn’t make many manipulations, however, the ImageDrawable Class offers more flexibility (z-index, opacity, etc.), don’t hesitate to read the official documentation, it’s full of content.