


Ionic installation
Installation can be bothersome.
Nobody likes spending time downloading and installing stuff left and right. So let's get this done smoothly!
Node.js and npm installation on Windows
Security wise, installing Node.js and npm on Windows is easier than on Unix.
The installer is available there.
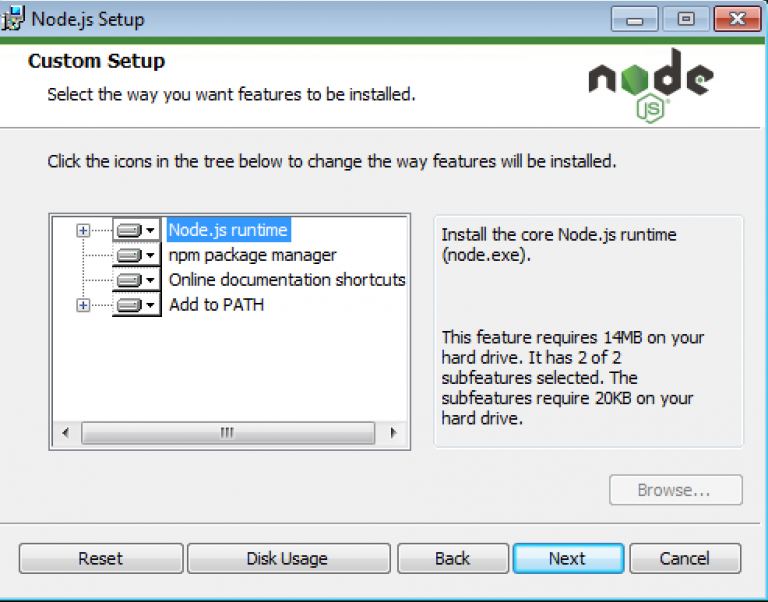
One very cool option when installing is the "Add to PATH" feature.
After installation, Node.js and npm command should be available because they will be added to the Path:

If not, you can add them as follow.
Search for "variables":
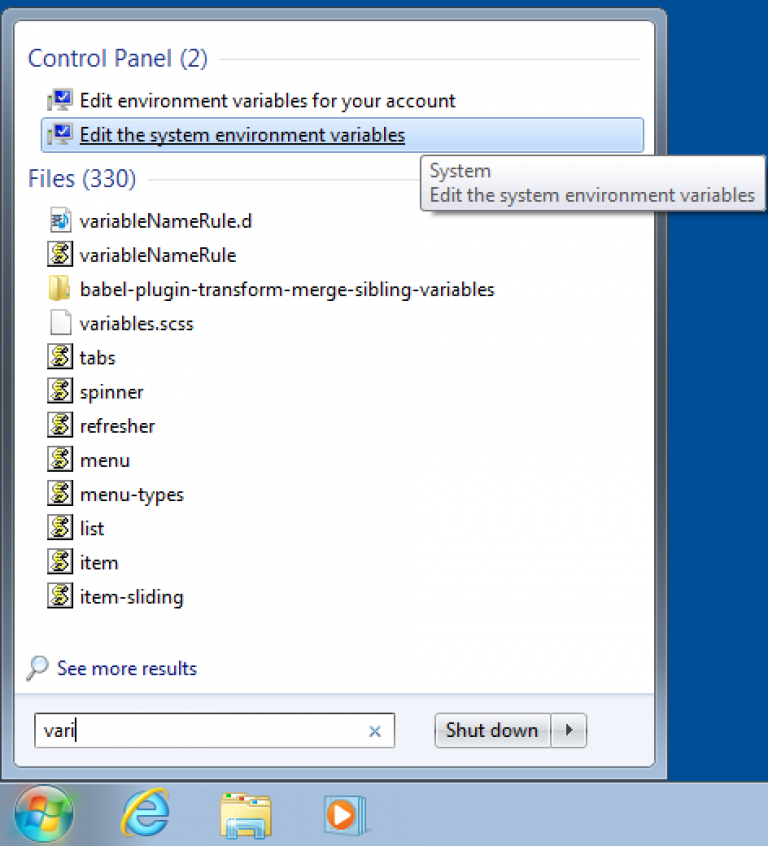
Which open this menu:
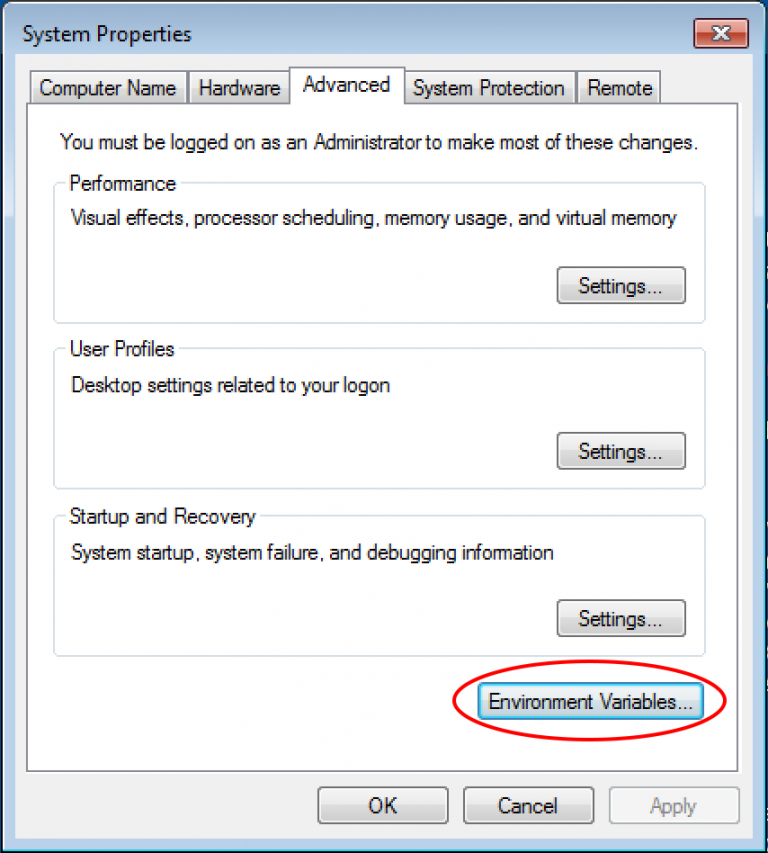
Selecting "Environment Variables".
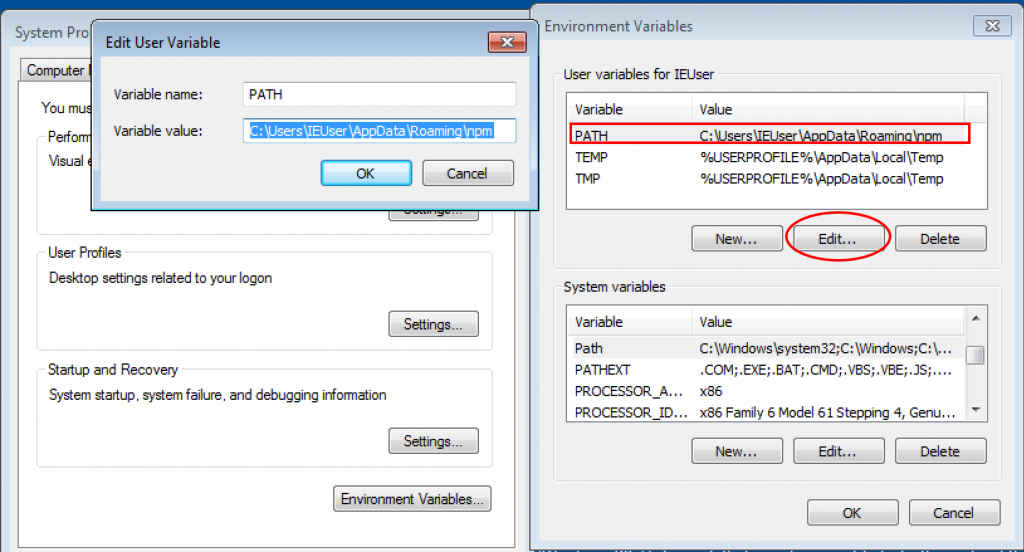
The default installation should set one user variable for npm:
And one system variable for Node.js:
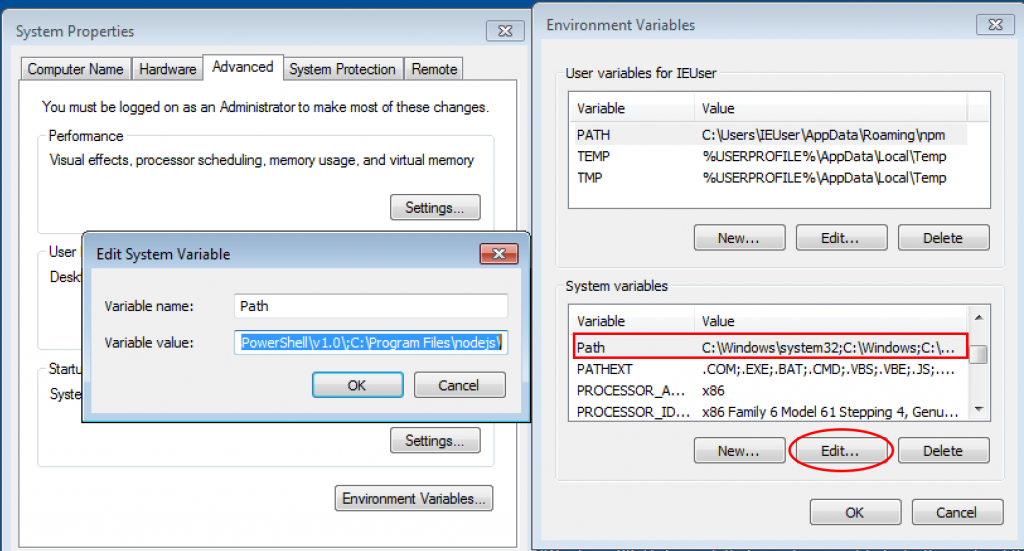
Note that the paths are separated by the ";" symbol.
Node.js and npm installation on Unix
If you just want to test Ionic to see how it's working, no big deal, you can skip this step, download the installer there and come back later for a proper installation.
Most tutorials will tell you to do a default installation, but that's not the best way.
In the long run you will have to globally install other libraries amongst them the Ionic library which will force you to do it as the root user and this is generally bad.
One DevOps best practice is to avoid as much as possible using the root user.
Those libraries can be installed in a different folder which will not require the root access.
The Great John Papa wrote a long post a while ago, followed by Sindre Sorhus, an insane open source contributor with a shorter post, he also advises to use a script, but I'm old school so I generally go with John Papa's solution.
Ionic installation
Now that we have Node and npm properly installed, we can install the Ionic tools.
In the past everything was very simple.
We had one library that contained everything: Ionic.
Nowadays every teams break their libraries in small pieces in order to make applications lighter and faster.
The Ionic core installation is simple:
npm install -g ionic
After that, the Ionic library is now globally installed in our specific folder:

Let's keep the momentum rolling and install cordova, it's a required library for mobile development:
npm i -g cordova
Once the Ionic core library is installed, we can use:
ionic info
To display some information on the available tools:
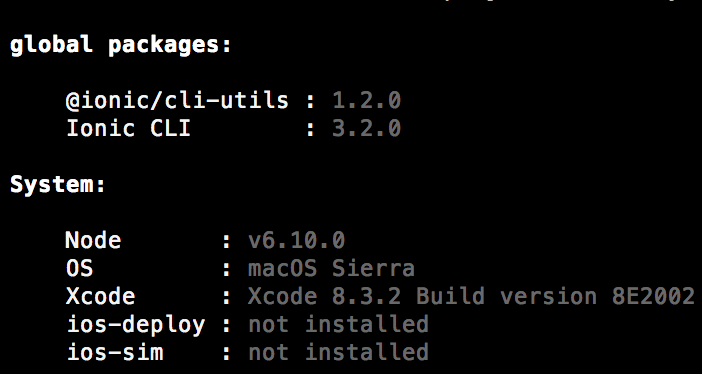
As I said before, many important modules are now scattered into different repositories, you can find them there.
If you don't have them while creating a specific project, the ionic-cli will automatically locally install the missing library for you.
Here is an example, when creating an Ionic 3 blank project using the following command:
ionic start installation-lesson blank

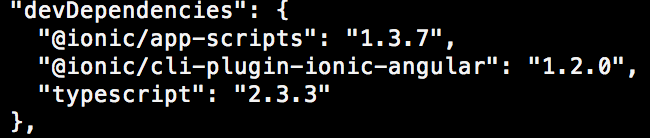
This is the @ionic/cli-plugin-ionic-angular library, it's required to create Ionic 3 projects.
Other important modules are:
- @ionic/cli-plugin-cordova: A very important plugin required to run Cordova projects (iOS, Android, etc)
- @ionic/cli-plugin-ionic1: A plugin that add some commands from the Ionic 1 cli
- @ionic/cli-plugin-proxy: A plugin that can help, if you are working behind a company firewall.
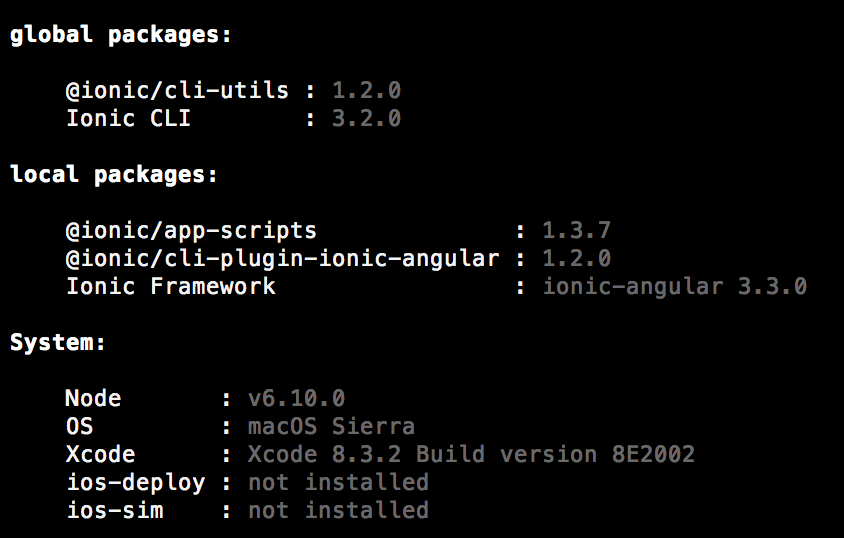
Once the plugin is installed the ionic info command gives us more information about the locally installed plugins:
If you we want to add the Android platform:
ionic cordova platform add android
It will automatically install @ionic/cli-plugin-cordova:

Which leads us to the platform section!
Note that there are two ways to run an application on a specific platform:
- By using a simulator
- By pushing to a real device
iOS
The iOS platform starts with Xcode (only available on Mac) that you can install with the following command:
xcode-select --install
If we try to deploy an application now, we will have this error:

We now need more plugins.
This one for pushing to a device:
npm i -g ios-deploy
And this one to use a simulator:
npm i -g ios-sim
iOS setup done!
Android
For the Android platform, two components are necessary:
- Java (here)
- The Android SDK: In the past it was possible to download the SDK, however the link to this standalone component only gives us the “tools” folder instead of the whole SDK so now we need to install Android Studio (there)
The Android SDK destination path can be changed when installing Android Studio:
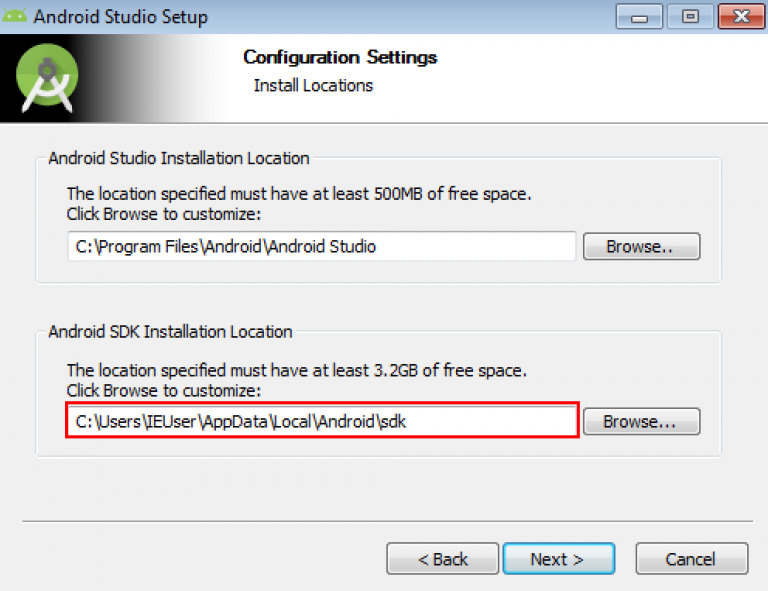
Once this is done, a new environment variable is required: ANDROID_HOME.
You already know how to do this for Windows.
For Unix, in the terminal:
export ANDROID_HOME=/Users/matthieu/android-sdk
Once this variable is available, we can add the Android tools to the path variable:
export PATH=${PATH}:$ANDROID_HOME/tools:$ANDROID_HOME/platform-tools
Note that the paths are separated by the “:” symbol.
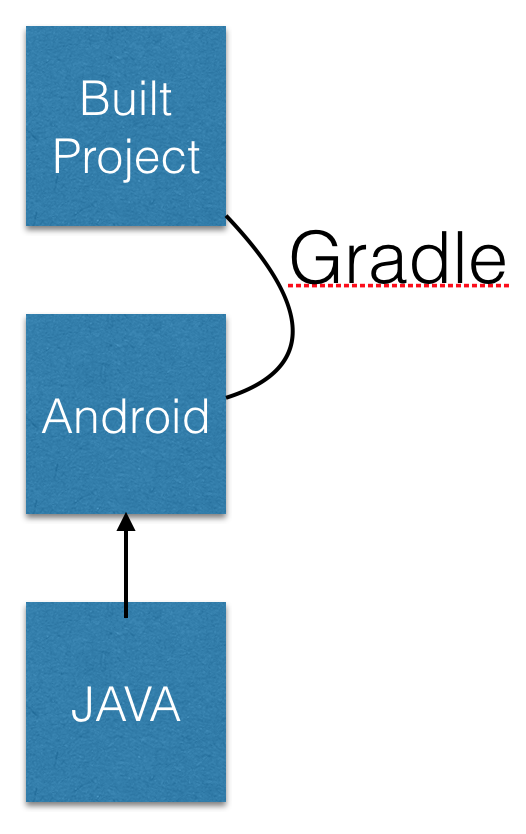
You might encounter some issues with Gradle (the build system) when building an Android app using the following command:
ionic cordova build android

This issue can be fixed thanks to the community by setting the GRADLE_OPTS global variable to “-Xmx{numberThatYouNeed}m” ex:-Xmx2024m.
To sum it up:
Great we are all set to work with the main platforms: iOS and Android.
Conclusion
Installations sucks.
Everything should be done step by step. Once everything is installed, no need to make any modifications.
You only need to install the platform that you want so you can ditch the Android installation or the iOS one.
We can now fully use the Ionic Command Line Interface (aka ionic-cli). That’s for tomorrow’s lesson.